16 Real Estate Photography Tips to Pull Off the Perfect Shoot for Your Home
- Published on
- 5 min read
-
 Christine Bartsch Contributing AuthorClose
 Christine Bartsch Contributing Author
Former art and design instructor Christine Bartsch holds an MFA in creative writing from Spalding University. Launching her writing career in 2007, Christine has crafted interior design content for companies including USA Today and Houzz.
There’s a surprise knock at the door… it’s your real estate photographer, all set to take shots for your real estate listing! Except dark clouds loom over head, your beanie baby collection sits out on full display, stacks of mail clutter every corner, and weeds have taken over the lawn.
Even clever angles and a brilliant professional behind the camera can’t save you now.
The moral of the story? Don’t underestimate how much coordination and prep work goes into getting the best possible photos for your home listing—it’s not a step where you can afford to drop the ball.
Top Phoenix, AZ agent Kim Panozzo, who sells properties 60% quicker than the average agent in her region, explains:
“You only get one bite at the apple, so it’s important to have good photos. We’re in a day and age when buyers are very visual and they look at things quickly, so you’ve got to catch their eye.”
Plus, 89% of buyers who used the internet as part of their home search found photos to be “very useful.” And 51% of recent home buyers report that they actually found the home they purchased online.

Get everything you need to know about taking great real estate photos with our complete guide on lighting, angles, composition, and editing.
Then, we’ll help you tackle the logistics side of the equation with these 16 real estate photography tips to pull off the perfect photo shoot for your home.
We’ll cover the areas of:
- Why you should hire a professional photographer
- How to prep and stage your home for the photoshoot
- Timing your shoot to take advantage of the best lighting
- Creating a “shot list” of all the rooms and angles that need to be captured
- Paring down the photo selection to your final cut
1. Find out if your agent plans to hire a photographer
The national average cost to hire a professional real estate photographer is just $110 to $300. And you may not even have to pay for it yourself.
Many real estate agents include professional photos as part of their service package. They likely have a few photographer buddies on speed dial and will pay for their work out of their own budget no matter what the value of your home is.
That way, they can maintain that high photo quality across all of their listings.
If your agent doesn’t offer complimentary photos as part of their marketing package (some top-notch agents don’t, especially in smaller markets), it’s worth a few hundred dollars to hire one yourself.
There’s a huge difference between professional listing photos and amateur ones, and buyers will be able to see through your blurry, cockeyed smartphone shots in an instant.
According to one study done by a real estate photography company, top-notch photos can make your house sell 32% faster than a house with low quality or average pictures.

2. Schedule a walkthrough with the photographer to identify any issues upfront
Once you’ve got a photographer nailed down, set up a time for them to come through your house to get the lay of the land.
That way, you can walk around the house with them and identify any problems (like too little lighting) that need to be resolved before the day of the photo shoot.
3. Book the shoot only after wrapping your remodeling projects
You may be in a hurry to get your home sold, but if you’re making any improvements to the property, you’ll want to showcase it in the photos.
Unfortunately, you’ll wind up paying additional fees to your photographer if remodeling delays result in the need to reschedule the photo shoot.
Always wait to schedule your shoot until you’re sure all remodeling work is done. It may add a few extra days to your timeline before listing, but it’s worth it.

4. Plan for the weather as best you can
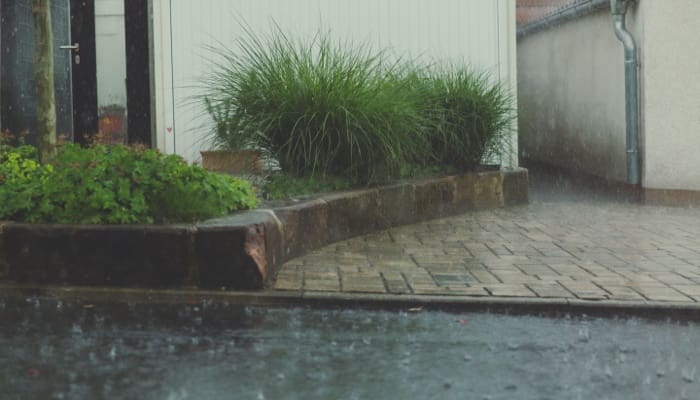
It takes a lot of natural light to get exquisite real estate photos—especially the exterior shots. So sunny and clear, or partly cloudy weather is generally accepted as the best for scheduling your home’s photo shoot.
Of course, mother nature and meteorologists don’t always oblige, so keep an eye on the local forecast in the days leading up to your shoot. Most photographers will reschedule without charging you extra fees if weather is the culprit for delays.
Be flexible about the time of day, too. The position of the sun in relation to your home makes a big difference in getting that money shot of your home’s curb appeal.
Ask your photographer if it’s best to schedule a morning or afternoon shoot to capture your front yard in its best light.
5. Get your home ready for picture day
The biggest job you have as the seller is getting your home shipshape before the photo shoot. Simply tidying up won’t do if you want your real estate photos to stand out from the crowd.
It goes without saying that your home needs a thorough cleaning before the photo shoot. From sweeping cobwebs off the ceiling to scrubbing built-up gunk off of your floors, you need to scour every surface and corner until the whole house shines.
But it’ll still look “messy” unless you take time to declutter, too. This means packing, donating, or tossing anything you no longer want or need.
Note that clutter isn’t limited to decorative items. Even your everyday necessities in the kitchen and bathrooms should be tucked out of sight for the photos.
The less you have, the easier it’ll be to stage.
6. Protect your fragile belongings
Now’s also a good time to remove any breakables from places where they are one elbow jab away from shattering.
Photographers are known to move around while looking through their camera lens to get the best angle, and may even stand on furniture to get it—so it’s better to be safe than sorry.

7. Use ‘soft staging’ to prepare your home for its close-up
Once you’ve pared down, you’ll want to make sure what’s left looks picture perfect. Think about it like you’re styling a sleek department store window display.
If you don’t have the knack for interior decorating, consider bringing in a professional stager.
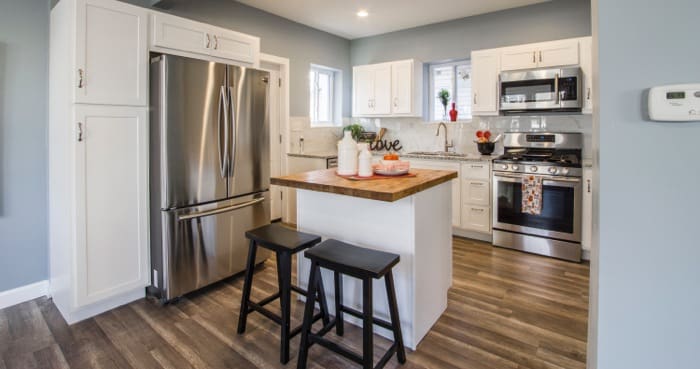
Even vacant homes can benefit from a little soft staging. Soft staging refers to adding decorative accents without bringing in furniture. For example, hanging artwork on the walls, adding towels in the bathroom, and placing a decorative fruit bowl in the kitchen.
“If it’s a vacant property, I like to have it soft-staged at least before the photographer comes,” says Panozzo. “Soft staging really keeps people’s eyes up, keeps them looking at the space itself versus that speck on the carpet or small stain on the ceiling.”
8. Get creative with undesirable window views
Everyone wants a spectacular view out of their windows, but not everyone’s got one. If yours is lacking, you’re not out of luck.
Let’s say one of your windows looks out at a brick wall. That’ll stand out like an eyesore in your photos—unless you distract from the mundane with a plant on the windowsill.
With sunlight streaming through onto the greenery, that brick wall turns into a beautiful backdrop.
9. Make sure you’ve got enough light
As your photographer is sure to let you know, natural light is best for photographing homes. So make sure all of your window coverings are clean and open before the shoot.
Unfortunately, some rooms may not get enough natural light to take good photos. If that’s the case, make sure all your light fixtures have working bulbs—and that the bulbs match.
Different bulbs give off varying shades of light, some of which can make walls, floors, and furnishings look dingy. (Pro tip: A bulb’s brightness is measured in lumens, not watts!)
Your photographer may bring in their own light kit or have a personal preference for light bulbs to alleviate this problem. But just to be safe, it’s best to get bulbs that mimic daylight—such as these LED light bulbs from Home Depot.
10. Set your ‘shot list’ in stone
Experienced real estate photographers know to come their photo shoots with a prepared shot list, which is a list of all the shots they plan to take the day of the photoshoot.
In fact, they’ll probably start planning the shot list during the walkthrough.
That’ll cover all of the basic must-have photos you need, like the kitchen, baths, bedrooms, front and backyards, and so forth.
Your job? Make sure the shot list also covers all of your home’s highlights—even the ones your photographer might not know about or remember.
Start with any features you’re going to showcase in the listing description. Did you just install a chef-grade range in the kitchen? Did you restore the original fireplace in your historic home? Does your home feature an open concept layout?
Make sure these highlights are photographed in all their glory.
11. Talk with your agent about whether to stay or skedaddle on photoshoot day
While it’s a good idea to make yourself scarce during showings, the photo shoot could go either way. If your agent prefers to be at the shoot, your presence may not be needed.
Your agent knows best which photos are needed for your listing package, and can be trusted to safeguard your property, too.
However, if your agent can’t be there, or you prefer to be more hands-on, there’s no reason to stay away—as long as you don’t get in the way.
12. Give your neighbors a heads up about your plans
It might be a tad unnerving for your neighbors to see some stranger outside taking photos—especially if your neighbors have children.
So, on the night before or the morning of the photo shoot, either call, visit, or leave a note with the people living on either side of you, across from you and behind you to let them know about the photo shoot.
If your shoot includes drone photos, make sure to mention that in the message, too.

13. Help the photographer out as needed, but don’t hover
The last thing you want to do is look over your photographer’s shoulder on every shot. Trust that the expert you hired knows the ropes and doesn’t need your input on the images.
If you’re too involved trying to give tips and suggestions, your photographer may just speed through the shoot.
What you can do is be available as needed. Your photographer may ask where outlets are, or suggest rearranging items to improve the composition of the pictures.
The shoot will flow smoother if you’re ready with assistance and answers.
While you’re waiting to help, check your shot list to ensure all your featured items are photographed before moving on to the next room.
14. Select a wide range of photos that show off all the key spaces
Your photographer will likely take hundreds of photos (or more!) of your home, and bring you a wide selection of the best to choose from. Narrowing down your choices is easier said than done.
It’s tempting to focus on the artistry of the images and pick the most striking photos—but this is a risky strategy. You’ll wind up with several gorgeous angles of the backyard, but forget to show the master bathroom.
Those missing photos become red flags to buyers who assume there’s a reason you left them out. So include all of the primary living spaces of the house (kitchen, living, dining, master bed and bath), even if they’re not in the best shape.
If there is a reason to skip some areas—say that you’ve remodeled your whole house except for the half-bath—then omitting the half-bath photo is the right move.
15. Don’t post too many photos, even if they’re gorgeous!
Posting too few photos online is a major mistake—but it’s equally as bad to go overboard.
“Too many photos is almost as harmful,” says Panozzo. “In my opinion, you need like 25, maybe 30 photos. You want to show the whole house and entice buyers enough to get their foot in the door. But you don’t want them to make a decision off of 115 photos and now they don’t think they need to see it in person.”

16. Throw in your own picturesque seasonal photos if you’ve got them
Your photographer will produce more stunning photos than you’ll need, so it might seem strange to think about adding to them with any amateur photos you took yourself.
There’s only one good reason to do it—and it only holds true if you live in a four-season state.
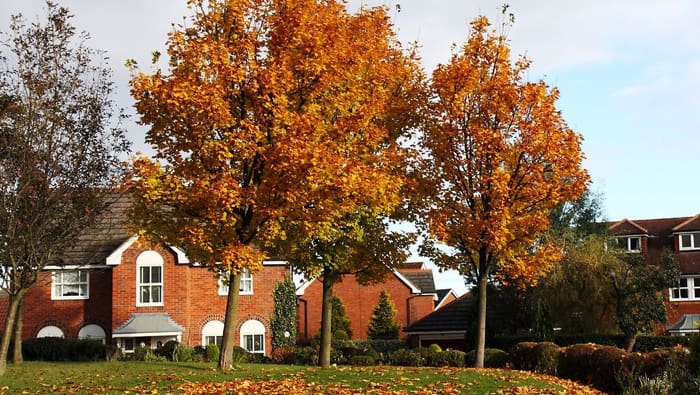
If you’ve got picturesque shots of your home surrounded by fall foliage or frosted with pristine snow, go ahead and include them with the listing.
Your professional photographer might even be willing (for a nominal fee) to edit your amateur seasonal photos to match the quality of his professional ones.
Just make sure to label them as special seasonal shots in the captions, and tack them on at the end, so buyers don’t think your listing’s been sitting on the market long enough for the weather to shift.
When it comes to taking the best photos to show off your home, hiring a professional photographer is always a smart move. And if you prepare for your home’s photo shoot with these seller-focused real estate photography tips, you’ll have the best images on the internet.
